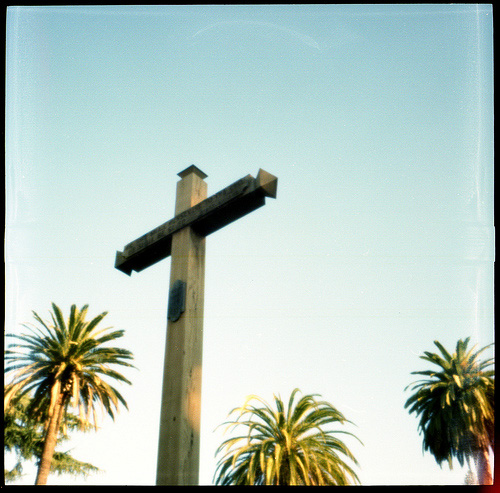
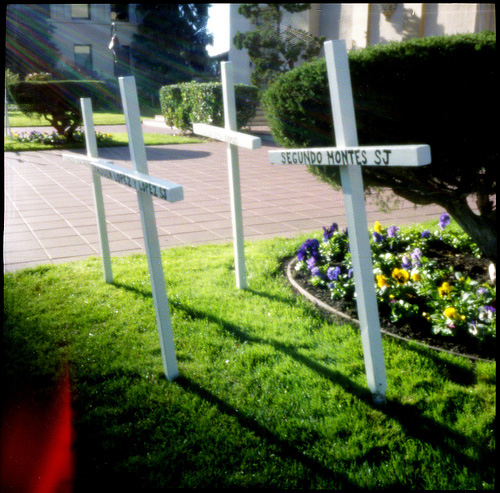
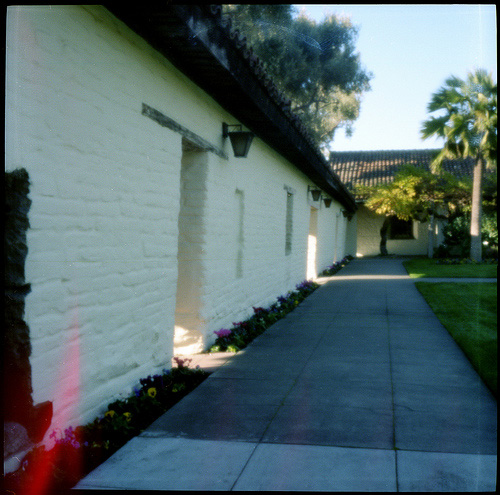
When the Lomographic Society International released the Diana toy camera remake, the Diana +, one of the improvements they made over the original was the addition of a built in pin hole feature. Even though I have had my Diana+ for a long time, I have never really tried the pin hole. Last week, I decided to give it a go. Accessing the pin hole feature is easy. Just twist off the lens.
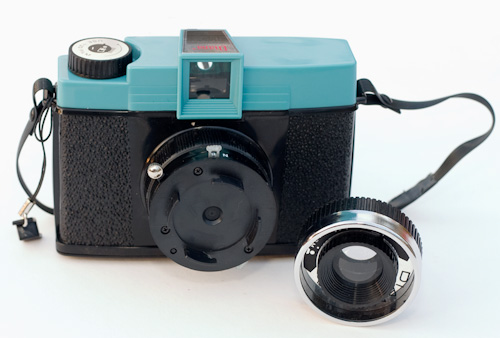
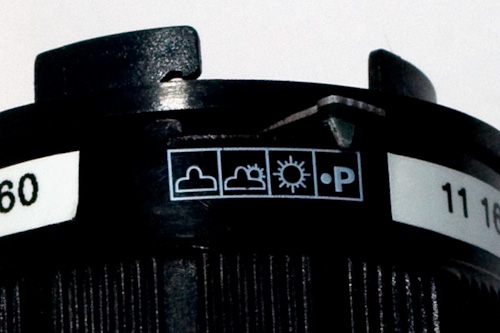
The pin hole on the Diana+ is supposed to have an aperture of f/150 and you set it by moving the aperture lever to "P"
Since pin hole exposure times are relatively long, the Diana+ needs to be set on bulb mode. There is a "shutter lock" (really a small plastic wedge) attached to the camera strap that can be inserted into the shutter lever slot to keep the shutter open for as long as required without holding it down. I found the shutter lock to be a bit finicky and it would sometimes take a few attempts to get it to stay in place.
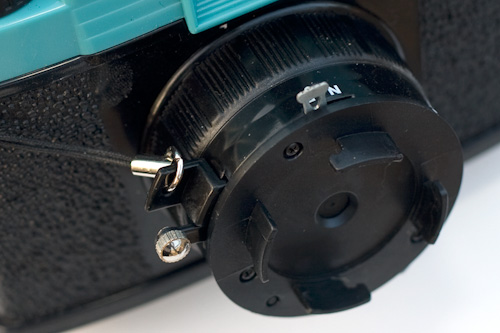
The Diana+ also has a tripod attachment on the base which helps when taking long exposures.
To determine the correct exposure, I created a table on the Mr Pinhole website. Here is an extract from that table showing the values I used most often.
| f 8 | f 16 | f 150 |
| 1/500 Secs | 1/125 Secs | 1/2 Secs |
| 1/250 Secs | 1/60 Secs | 1 Secs |
| 1/125 Secs | 1/30 Secs | 3 Secs |
| 1/60 Secs | 1/15 Secs | 6 Secs |
| 1/30 Secs | 1/8 Secs | 11 Secs |
| 1/15 Secs | 1/4 Secs | 22 Secs |
I then used an old Sekonic light meter to determine the correct exposure for f/8 or f/16 and read the f/150 value from the table.
Because it can be difficult to keep the shutter lock in place my method for taking the photos was to first hold the lens cap in front of the pin hole. I would then open the shutter and insert the lock. Once the lock was in place, I removed the cap for the necessary time and replaced it when the exposure was complete. By doing it this way, I reduced the amout of time I had touch the camera hopefully lessening any camera shake.
And so the results...
Most of the roll was exposed pretty well. I did end up with a light leak which was caused by the roll not being wound tightly onto the take up spool. This is a common problem with the Diana+ because of the mechanism used to keep the film in place. It just doesn't keep the roll tight enough. (See this Figital Revolution post on how to get around that.)
Another thing I don't like about my Diana+ is that there is a square outline around every photo. This appears to be a internal reflection from the mask but it could probably be reduced by using a matte paint inside the camera. I've seen this on other people's Diana+ photographs too.
Overall, I think the pinholes came out pretty good. You can judge the results yourself below.
